How to Download a DEB ID Card Online and Save a Digital Copy
If you are applying for an Open and Distance Learning (ODL) or online programme in India, you must create a UGC Distance Education Bureau (DEB) ID before admission. The DEB ID is linked to your Academic Bank of Credits (ABC) or APAAR ID and helps confirm that you are applying to a recognised institution and approved programme.
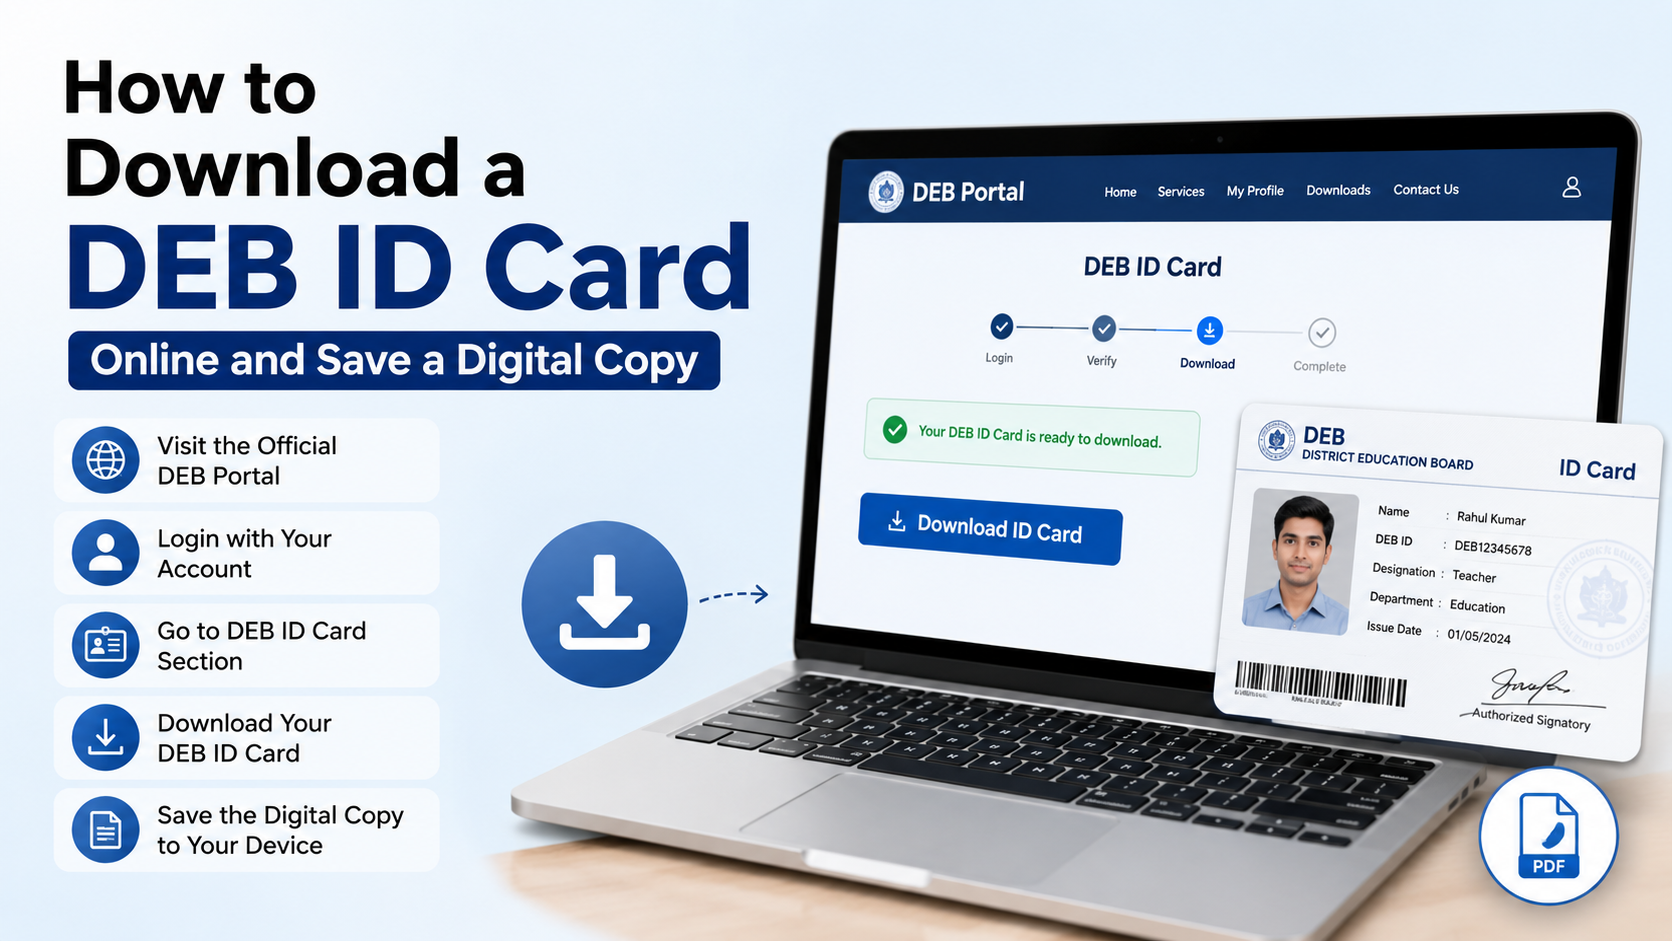
The official UGC-DEB portal does not always provide a separate “DEB ID card” PDF button. After your DEB ID is generated, you can save the confirmation page as a PDF, print it, or keep a secure screenshot of the displayed DEB ID details.
Key Takeaways
- Create an ABC ID through DigiLocker before applying for a DEB ID.
- Generate the DEB ID only through the official UGC-DEB website.
- Keep your ABC ID, Aadhaar-linked details, email address and mobile number ready.
- Use the browser’s Print → Save as PDF option if no download button appears.
- A DEB ID is required for admission to recognised ODL and online programmes.
- Verify the institution and programme on the UGC-DEB portal before paying fees.
What Is a DEB ID?
A DEB ID is a unique learner identification number issued through the UGC Distance Education Bureau portal. It is required for students seeking admission to programmes offered through:
- Open and Distance Learning (ODL)
- Online learning mode
- Recognised universities and higher education institutions (HEIs)
According to the official UGC-DEB FAQ, students cannot enrol in an ODL or online programme without a valid DEB ID. The system is designed to help learners check whether an institution and course are recognised for the relevant admission session.
The DEB ID is intended to remain valid throughout a learner’s ODL and online-learning lifecycle. You generally do not need to create a new DEB ID for every programme, although the university may ask you to enter and verify it during each admission process.
What You Need Before Downloading or Creating a DEB ID
Prepare the following information:
| Requirement | Why it is needed |
|---|---|
| ABC ID or APAAR ID | The DEB ID is generated using this academic identity |
| Name as shown on Aadhaar/APAAR | Used for identity matching |
| Year of birth | Required on the DEB form |
| Gender | Used to match your academic identity |
| Active mobile number | Needed for contact and verification |
| Email address | Used for communication and keeping a record |
| Captcha access | Required to submit the online form |
| Consent or provider details, when requested | May appear on the current DEB registration form |
Your name, date of birth and gender should match the information connected with your ABC/APAAR record. Correct errors in the APAAR or ABC record before generating the DEB ID.
Step 1: Create an ABC ID Through DigiLocker
You cannot normally create a DEB ID without an ABC ID. The UGC-DEB FAQ confirms that the ABC ID can be created through DigiLocker.
- Open the official DigiLocker website or the DigiLocker mobile app.
- Sign in using your registered mobile number or other available login method.
- Open the education-related services section.
- Select the option to create or access your Academic Bank of Credits (ABC) ID.
- Follow the identity-verification instructions.
- Note down the ABC ID exactly as displayed.
The ABC ID may also be referred to as an APAAR ID in current government education systems. Do not confuse it with the DEB ID: the ABC/APAAR ID is used to generate the DEB ID.
If DigiLocker shows an incorrect name, date of birth or gender, resolve that issue first through DigiLocker or the ABC support system. The UGC-DEB portal advises students to correct their APAAR/ABC details before creating or updating a DEB ID.
Step 2: Open the Official UGC-DEB Student Portal
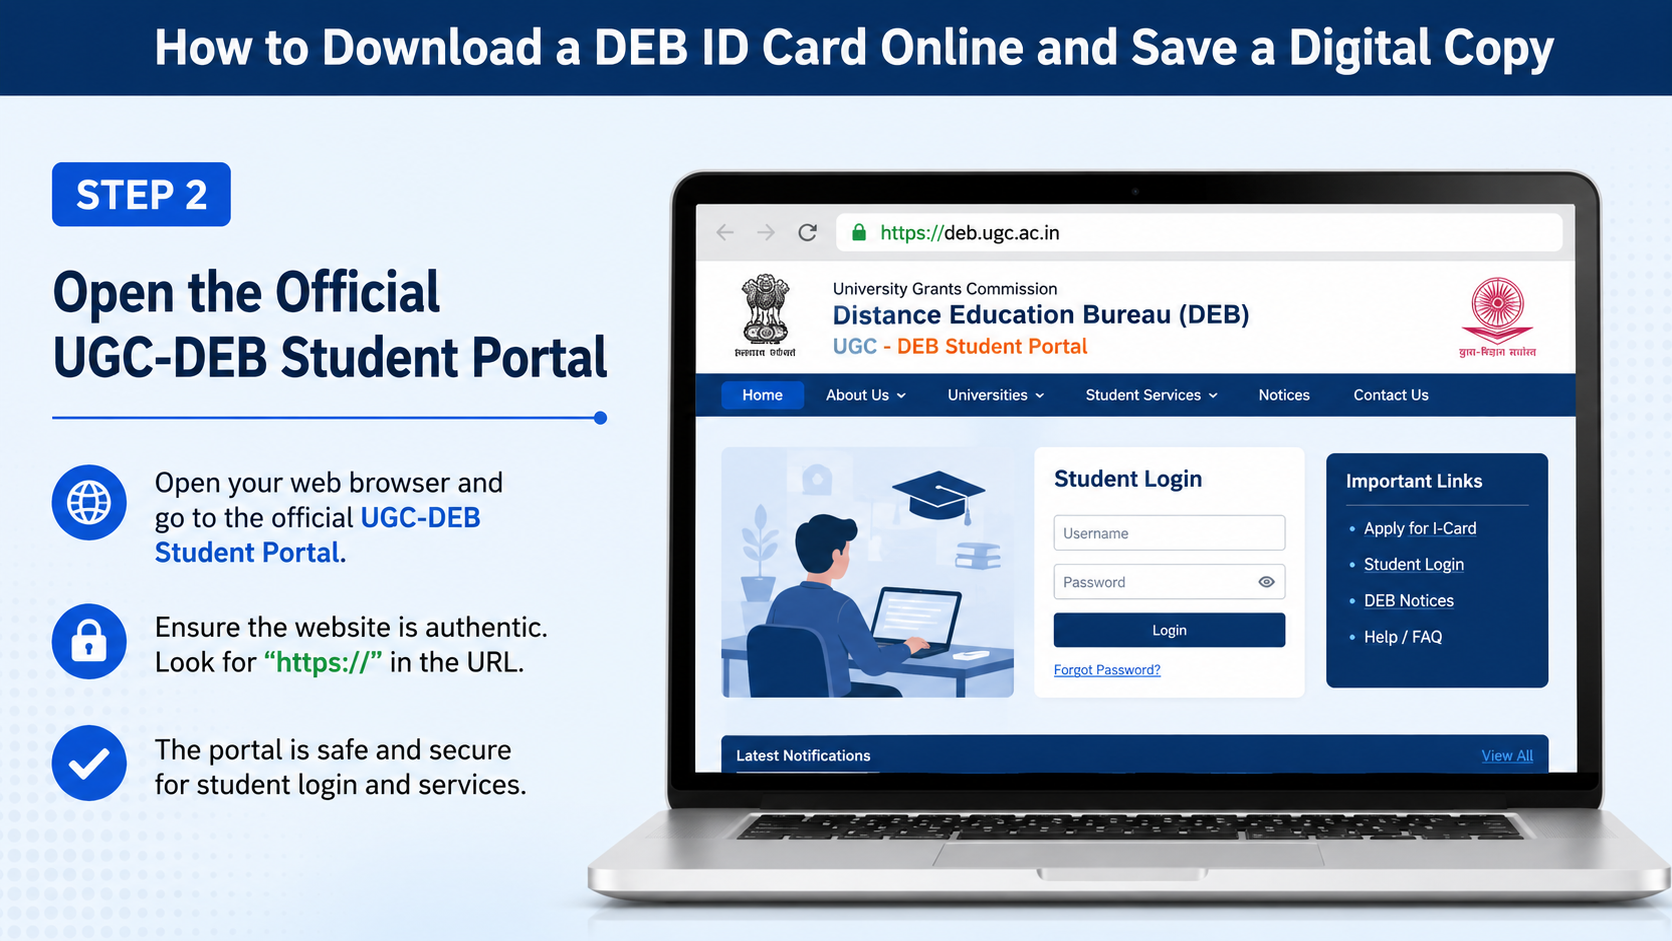
Go to the official UGC-DEB student registration page.
Check the address carefully. Avoid websites offering a “paid DEB card download”, unofficial APK, modified form or instant ID-generation service. A DEB ID is generated through the UGC-DEB portal, not through a third-party download site.
On the page, choose the option to get or create your DEB ID. The form and labels may change as the portal is updated, so follow the wording currently shown on the official website.
Step 3: Enter Your Details and Submit the Form
Depending on the current portal workflow, you may be asked for:
- Your ABC ID.
- Your name as recorded on Aadhaar or APAAR.
- Year of birth.
- Gender.
- Email address.
- Mobile number.
- Captcha code.
- Consent or provider-authentication details, if displayed.
Read the consent statement before selecting I Agree. Enter details exactly as they appear in your ABC/APAAR record. Then select Submit, Enter or the equivalent button shown on the page.
If your information matches successfully, the portal should display your learner details and a DEB unique ID. The page may show fields such as:
- Name
- Gender
- Date of birth
- DEB unique ID
- University or course details, where available
Take a moment to compare the displayed information with your documents before leaving the page.
Step 4: Save the DEB ID Confirmation as a PDF
If the portal shows your DEB ID but does not display a dedicated download button, use the browser’s built-in print function.
On Android
- Open the DEB confirmation page in Chrome.
- Tap the three-dot menu.
- Select Share or Print.
- Choose Save as PDF.
- Select a folder such as Downloads or Documents.
- Tap Save.
You can also take a screenshot, but a PDF is usually easier to upload to an admission portal.
On Windows or macOS
- Keep the DEB ID confirmation page open.
- Press Ctrl + P on Windows or Command + P on macOS.
- In the printer or destination list, select Save as PDF or Microsoft Print to PDF.
- Check the preview to ensure that the DEB ID and your name are visible.
- Save the file with a clear name, such as
DEB-ID-YourName.pdf.
If the page is cut off, select More settings, enable background graphics if necessary, or change the layout to portrait or landscape. Do not share a PDF that hides the DEB ID or shows another person’s details.
If a download button is available
Some versions of the portal or university admission pages may provide a direct Download, Print, or Generate PDF button. Use that option first. The exact button name can vary after portal updates.
Step 5: Check the DEB ID Before Using It
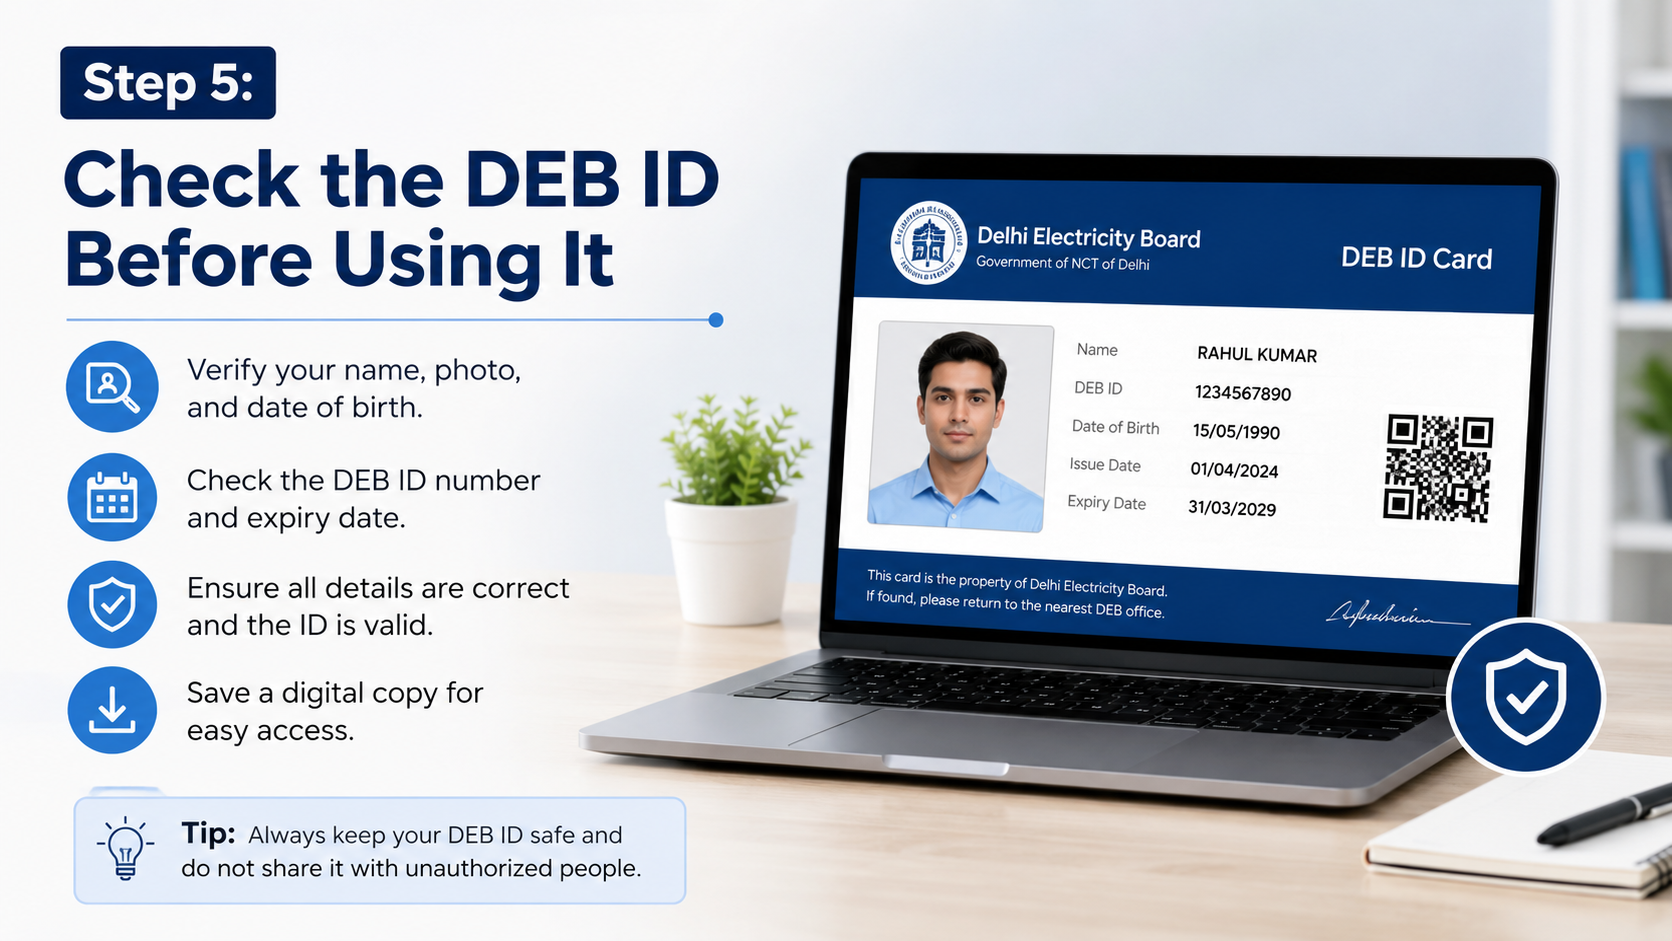
Before uploading the file to a university portal, confirm:
- Your name is spelled correctly.
- Your date of birth and gender are correct.
- The DEB ID is fully visible.
- The PDF opens normally on another device.
- The file is not password-protected unless the university accepts protected files.
- The document does not contain unnecessary personal information from another page or tab.
Keep one copy on your phone and another in secure cloud storage. You may also email the file to yourself, but avoid forwarding it publicly or posting it on social media.
How to Use the DEB ID for Admission
The UGC’s recommended sequence is:
- Create an ABC ID.
- Create a DEB ID.
- Select a recognised HEI.
- Select an approved programme.
- Complete the admission process on the university portal.
- Enter and verify the DEB ID when requested.
Use the UGC-DEB recognised-programmes information to check the institution and programme for the relevant academic session. Recognition can vary by programme, mode and session. A university’s general recognition does not automatically mean that every distance or online course is approved.
The UGC-DEB FAQ also advises students to check the institution’s recognition status, approved programmes, prohibited programmes and any restrictions on franchising arrangements before admission.
DEB ID Download Problems and Solutions
The DEB ID is not displayed
Check whether the ABC ID, name and year of birth match your APAAR record. Remove extra spaces and enter the name exactly as shown. Refresh the page and try again using an updated Chrome, Edge or Firefox browser.
The page shows “DEB ID: Not Yet Created”
This normally means the submission did not complete or the details could not be matched. Confirm the ABC ID and captcha, then submit again. Do not create multiple ABC IDs to solve the problem.
ABC ID details are incorrect
Correct the APAAR/ABC record first. The DEB portal’s update guidance says students should confirm that their APAAR card is accurate before creating or updating the DEB ID. For ABC-related issues, use ABC support or DigiLocker.
The PDF is blank or missing information
Use the print preview before saving. Allow the page to finish loading, disable reader mode, and try printing from a desktop browser. If necessary, save a screenshot as a temporary record and regenerate the PDF later.
OTP or login problems occur
Use the mobile number linked to your DigiLocker or identity record. Check network connectivity, disable browser extensions that block scripts, and try a private browser window. Never give an OTP to an agent or unofficial website.
You already created a DEB ID but need to correct it
First correct any APAAR/ABC information. Then use the official Update DEB Details page. The portal may ask for your ABC ID, APAAR name, year of birth, gender and captcha.
For technical DEB-ID problems, use the contact details published on the official DEB contact page. Contact information and support hours can change, so rely on that page rather than old videos or forwarded messages.
Security Tips for Your Digital DEB ID Copy
- Use only
deb.ugc.ac.infor DEB registration and updates. - Do not install an APK claiming to generate a DEB ID.
- Do not pay a third party for a basic DEB registration.
- Keep your ABC ID, DEB ID and Aadhaar-related details private.
- Upload the PDF only to the official university admission portal.
- Check that the website uses HTTPS before entering personal information.
- Save the original PDF without editing the ID number or personal details.
A saved digital copy is useful for admission forms, verification and future reference, but the university may still require additional documents such as identity proof, certificates, photographs or fee receipts.
Frequently Asked Questions
Is a DEB ID the same as an ABC ID?
No. The ABC or APAAR ID is an academic identity used to create the DEB ID. The DEB ID is specifically required for admission to recognised ODL and online programmes.
Can I create a DEB ID without an ABC ID?
The official UGC-DEB FAQ says no. Create an ABC ID through DigiLocker first, then use it on the UGC-DEB portal.
Is there a separate DEB ID card?
The UGC-DEB portal primarily issues a unique DEB ID and displays learner details. If no card-style PDF is provided, save the confirmation page through Print → Save as PDF.
Is the DEB ID valid for every university?
The ID is used across ODL and online learning, but each university and programme must separately be recognised or entitled by UGC-DEB for the relevant session.
Do I need a new DEB ID every year?
The DEB portal states that the ID remains valid across the learner’s ODL/online learning lifecycle. Follow your university’s current admission instructions if it asks you to verify the existing ID.
Can I download the DEB ID on a mobile phone?
Yes. Open the official portal in a mobile browser and use the browser’s print or save-to-PDF function. A desktop browser may work better if the form or preview does not load correctly.
What should I do if my name is wrong on the DEB ID?
Correct the underlying APAAR/ABC information first. After the correction is reflected, use the official DEB update process and generate or update the DEB details again.
Where can I verify recognised ODL and online programmes?
Use the official UGC-DEB portal and review the recognition information for the specific institution, programme, mode and admission session before paying fees.